![Slab Leak Repair USA | Fast & Reliable Solutions [5-Star]](https://slableakrepair.us/wp-content/uploads/2026/04/cropped-ChatGPT-Image-Apr-19-2026-12_03_23-AM.png)
Best Tools for DIY Slab Leak Detection [Everything You Need]
If you suspect a hidden water leak beneath your home’s concrete foundation, knowing which detection tools actually work in 2026 can save you thousands of dollars in unnecessary damage.
Slab leaks are notoriously difficult to find because the pipes are buried under several inches of concrete.
The good news is that both DIY methods and professional techniques have improved significantly. Before you call a plumber, it helps to understand what tools are available and how each one works. If you’re just getting started, Can You Detect a Slab Leak Yourself: Honest Guide gives a solid foundation for what’s realistic to tackle on your own.
How to Tell If You Have a Slab Leak Before Buying Any Tools
You should confirm your suspicion before spending money on detection equipment. Start with your water meter. Turn off every faucet, appliance, and valve in your home. Watch the meter for 15 minutes. If the dial moves, water is escaping somewhere.
Common warning signs include warm spots on your floor, unexplained increases in your water bill, and the sound of running water when nothing is on. You might also notice cracks in your baseboards or flooring that appeared without a clear cause.
Mold or mildew smells near the floor are another red flag. These visual and sensory clues cost nothing to check and should be your first step before any tool purchase.
Write down what you notice and when you first noticed it. This documentation helps plumbers and your insurance company if you need to file a claim later. Keep photos with timestamps.
Basic DIY Tools That Homeowners Can Use Right Now
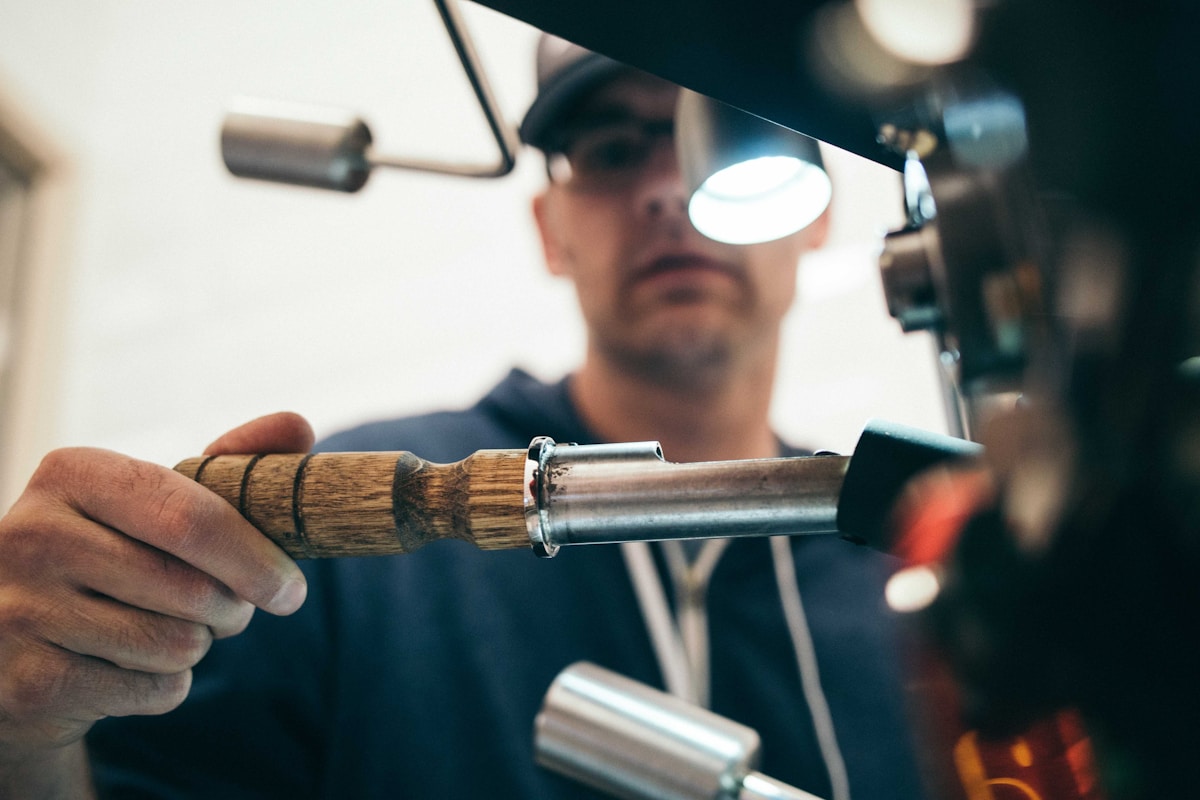
You do not need expensive equipment to begin narrowing down a leak’s location. Several affordable tools are genuinely useful for a first pass. A basic listening disc or stethoscope-style device lets you press against floors and walls to hear water movement. These cost between $20 and $80 at most hardware stores.
Thermal cameras have dropped in price significantly. Entry-level infrared cameras for smartphones now cost around $150 to $250.
They detect temperature differences on floor surfaces caused by warm water leaking beneath. This is one of the most practical DIY upgrades available to homeowners in 2026.
Moisture meters are another solid option. Press the probes into your flooring material or drywall and get a reading in seconds.
Models from brands like General Tools or Protimeter run between $30 and $100. They work best on wood floors and drywall but give useful data on concrete too. These tools help you identify the zone of a leak rather than the exact pipe location.
Professional-Grade Detection Methods Explained Simply
When DIY tools narrow things down but don’t give you a definitive answer, professionals use more advanced methods.
Acoustic leak detection is the most common. Specialists use electronic amplification equipment to listen through the slab and identify the exact frequency of escaping water. This method is highly accurate on pressurized water lines.
Helium tracer gas testing is another professional technique. Technicians inject a helium and nitrogen mix into the pipe and use a surface probe to detect where the gas escapes through cracks in the slab. This works well when acoustic methods are inconclusive.
For homeowners dealing with possible sewer line issues rather than water supply lines, the detection approach is different. Sewer vs Water Line Slab Leak Detection: Key Differences explains why this distinction matters before you hire anyone. Water line leaks are pressurized and easier to detect acoustically. Sewer leaks require different tools entirely, including smoke testing and dye methods.
Understanding water quality and pipe corrosion risk can also inform what type of leak you’re dealing with. The EPA’s drinking water resource center provides data on pipe materials and corrosion patterns that affect older homes across the US, which can help you understand why leaks develop in the first place.
Video Camera Inspection: When It Makes Sense
Video pipe inspection involves pushing a flexible camera through your home’s plumbing to visually identify damage, corrosion, or blockages. It’s one of the most reliable methods available, but it’s not always the right first call.
Camera inspection works best when you already suspect a specific pipe run. It is also very useful after a repair to confirm the fix was successful. For general leak hunting, acoustic or thermal tools are usually tried first because they’re faster and less invasive.
Camera inspections typically cost between $200 and $600 depending on your location and the complexity of your plumbing layout. For a full breakdown of when this method is worth it, Video Camera Inspection for Slab Leaks: Pros, Cons, and When to Use covers the topic in practical detail.
One important note: camera inspection cannot detect leaks in pressurized water supply lines the same way it can in drain lines. Make sure you’re discussing the right type of pipe with your plumber before booking this service. Confusing the two is a common and expensive mistake homeowners make.
Step-by-Step: Running Your Own Initial Detection
Here is a practical sequence you can follow before calling a professional. First, shut off all water in the home and check your meter as described earlier. Mark the meter dial position and check again after one hour of zero use.
Second, walk every room barefoot. Feel for warm or damp spots on tile or hardwood. Pay special attention to areas near bathrooms, kitchens, and utility rooms where supply lines commonly run.
Third, use a moisture meter on suspicious zones. Take readings in multiple spots and note which areas score highest. Fourth, if you have access to a thermal camera or smartphone attachment, scan the same zones for heat signatures.
Fifth, listen. Use a basic stethoscope or listening rod pressed firmly against the floor surface. Pipes carrying pressurized water make a distinct hissing or rushing sound. This method takes patience but costs almost nothing.
Document everything with photos and written notes. This step-by-step approach gives any plumber you bring in a solid starting point and often reduces the diagnostic time they charge you for.
What to Do After Detection: Clear Next Steps for Homeowners
Once you’ve identified a probable leak zone, your next decision is whether to repair it yourself or hire a specialist. Minor above-slab plumbing can sometimes be handled by experienced DIYers. Anything involving breaking concrete or rerouting pipes under the slab should go to a licensed plumber.
Get at least two quotes before committing to any repair. Ask each contractor specifically what detection method they use and whether their diagnostic fee applies to the repair cost if you hire them.
If you’re buying a home and want to know what questions to ask before closing, What to Ask During a Home Inspection for Slab Leaks is worth reviewing before that appointment.
Check your homeowner’s insurance policy. Some policies cover sudden slab leak damage but not gradual leaks. Call your insurer before any slab leak repair work begins. Taking action before getting that confirmation could affect your claim.
For ongoing guidance on slab leak detection, repair timelines, and cost estimates, slableakrepair.us/ is designed specifically to help US homeowners work through these decisions with accurate, up-to-date information.
Frequently Asked Questions
What is the most accurate DIY tool for slab leak detection in 2026?
Thermal imaging cameras, including smartphone attachments, are currently the most practical and accurate tool for homeowners. They identify temperature anomalies on floor surfaces caused by warm water escaping beneath the slab. Pairing a thermal camera with a moisture meter gives you the most reliable DIY picture before calling a professional.
How much does professional slab leak detection cost in the US?
Professional detection typically costs between $150 and $500 depending on the methods used and your geographic location. Some companies include detection in the overall repair quote if you hire them for the fix. Always ask upfront whether the diagnostic fee is separate or credited toward repair costs.
Can I really find a slab leak myself, or do I always need a plumber?
You can often identify the general zone of a slab leak using DIY tools like moisture meters and thermal cameras. However, pinpointing the exact pipe location under concrete almost always requires professional acoustic equipment. Think of DIY detection as a first step that saves you time and money when you bring in a specialist.
Does homeowner’s insurance cover slab leak detection and repair?
Most standard homeowner’s insurance policies cover sudden and accidental slab leak damage but exclude leaks that developed gradually over time. Detection costs are rarely covered directly, though some policies include a service line rider that helps. Review your policy carefully and contact your insurer before starting any repair work to protect your claim eligibility.